

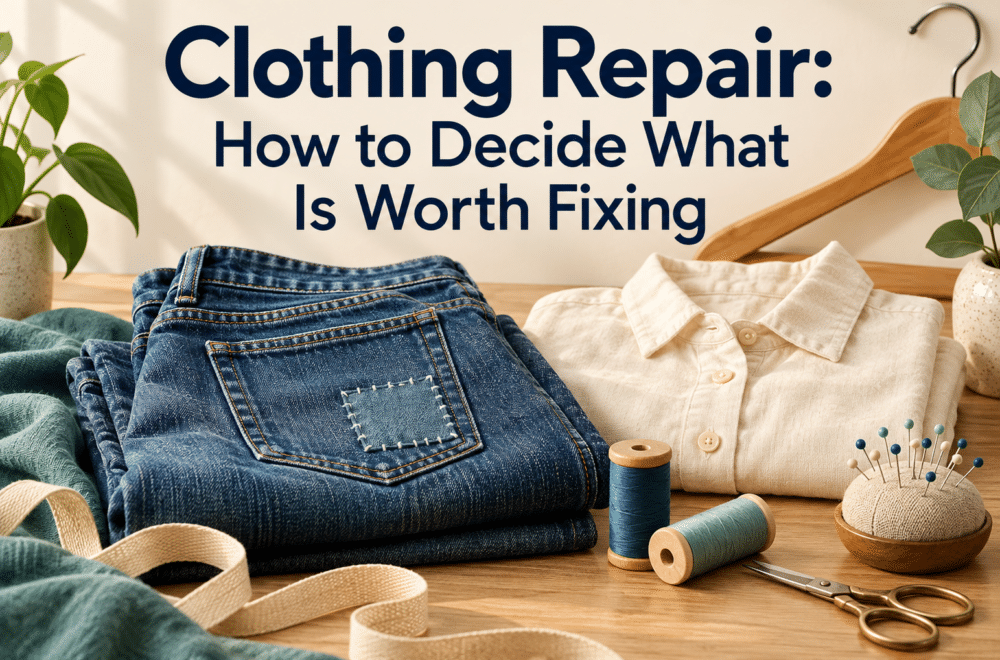
One missing button. One broken zip. One pair of trousers you keep adjusting.
Small problems can quietly remove useful clothes from your wardrobe. The items remain on hangers, but you stop reaching for them.
Clothing repair offers a way to recover that usefulness. The decision starts with identifying what would make a garment wearable again—and whether you would actually wear it afterward.
This is part of a wider shift toward keeping textiles in use. In its 2025–26 impact report, environmental organization WRAP describes current work on garment durability and repair, alongside resale and reuse. Its research considers common failure points and design features that help clothing last longer.
At home, you can begin with a much smaller project: choose three items you have stopped wearing and give each a clear next step.
Diagnose the Problem Before Buying Supplies
Put the first garment somewhere well lit. Examine the affected area and the fabric around it.
A missing button on otherwise sound fabric presents a different task from a button that has torn through a badly worn waistband. Likewise, an opened seam needs a different assessment from fabric that has split beside the stitching.
Write down the problem in one sentence:
“This shirt needs its missing cuff button replaced.”
That is more actionable than “fix shirt.”
Next, answer the question that determines whether the repair has a purpose:
If this problem disappeared, would I wear the item soon?
Consider fit, comfort, your current routine, and the clothes already available to combine with it. A repair can restore function, but it cannot guarantee that an unwanted garment will become a favourite.
Use the following as a starting point rather than a diagnosis:
| What you notice | A practical next step |
|---|---|
| A missing standard button; surrounding fabric looks sound | Consider a beginner repair guide |
| An opened seam or small hole | Check fabric condition and ask what repair method suits it |
| A troublesome zip | Ask a repairer whether the slider, teeth, or whole zip needs attention |
| An uncomfortable fit | Request an alteration assessment |
| Widespread thinning or repeated tears | Discuss whether a repair would provide worthwhile further use |
Inspect the whole garment before paying for one isolated fix. You may discover another issue that changes the decision.
Give the Repair a Brief
A short repair brief helps whether you are working at home or visiting a tailor:
Item: Everyday trousers
Problem: Hem catches beneath my heel
Wanted result: A shorter length that works with my usual shoes
Finish: Similar to the existing hem
Next action: Bring trousers and shoes for an alteration assessment
The brief makes your expectations visible. It also gives the repairer something specific to discuss.
Choose the Route That Matches the Garment
Route A: Learn one small repair.
A standard button can be a manageable place to begin. The iFixit guide to sewing a button provides instructions for reattaching a four-hole button using a needle and thread. Check that its method matches the button and garment you have.
Read the entire guide first. Gather the required materials, check the intended button position, and practise on spare fabric if you need to become comfortable handling the needle.
Start with an item whose finish does not need to be perfect. Store needles and scissors securely when finished.
Route B: Ask for skilled assessment.
For a lined jacket, delicate fabric, complicated alteration, or uncertain zip problem, describe the result you want and request a quote.
Ask what the finished repair will look like. A strong patch may remain visible. An exact colour match may be unavailable. An alteration may be limited by the fabric inside the seams.
If appearance matters, settle that expectation before work begins.
Check the brand’s aftercare options too. Some manufacturers publish product-specific instructions or offer repair assessment. Patagonia’s care and repair resources are one example of this approach; arrangements depend on the product, service, and region.
Route C: Resolve a care problem first.
Sometimes the reason an item stays unworn is a stain or uncertainty about cleaning.
Read the garment’s care label and the cleaning product’s directions before treatment. The American Cleaning Institute’s fabric-care guidance emphasizes following label instructions to choose appropriate care.
Identify the fabric and likely stain before choosing a method. For delicate, valuable, or unfamiliar materials, ask a suitable professional. Cleaning and repairing are separate tasks, and either may affect the order in which work should happen.
Compare the Quote With Realistic Future Wear
Suppose a tailor quotes $10 to repair a jacket you regularly use.
You estimate that you would wear it another 30 times if repaired:
$10 ÷ 30 expected wears = $0.33 per additional wear
These are fictional figures illustrating a decision aid, not a local price estimate.
Now change the assumption. If you would wear the jacket only twice, the same repair represents $5 per additional wear.
The calculation is useful because it makes your expectations explicit. It does not establish a universal threshold for a worthwhile repair. Actual future wear is uncertain, and the decision may also involve comfort, sentimental value, replacement availability, and the time needed to find another item.
Ask three questions beside the quote:
- What further use is the repair likely to provide?
- Is the rest of the garment in suitable condition?
- What realistic alternative would meet the same need?
Avoid estimating dozens of future wears simply to justify a decision. If you already know that the garment will remain unused, acknowledge that before spending money.
There is also value in a repair that keeps a particularly comfortable or meaningful item available. You can make that choice without pretending it is purely financial.
Close the Loop: Wear It, Pass It On, or Find Another Route
A repair project is complete when the garment returns to use.
After collecting it, try it on and inspect the work. Check movement, comfort, and the repaired area. Raise any concern promptly with the repairer.
Then put the item back where you choose clothes. If it needs a particular care method, keep that information accessible.
Limit how many unfinished repairs you hold at once. One completed button repair can be more useful than a large collection of items waiting for an ambitious sewing weekend.
If you decide against keeping an item, assess its next destination. Describe defects honestly when selling or giving it away, and check a donation organization’s acceptance rules before delivering it.
Singapore’s National Environment Agency’s donation, resale, and repair directory illustrates how different conditions call for different routes. It distinguishes usable items from those needing repair or another disposal pathway. Use guidance relevant to your own location.
A textile collection point may have different requirements from a clothing charity. Confirm what it accepts and prepare the item accordingly.
Return to the three garments you selected. Each should now have a specific action: replace a button, obtain a quote, follow suitable cleaning instructions, or arrange an appropriate handover.
Choose the smallest task you can complete this week. When that shirt or pair of trousers returns to your regular rotation, the repair has delivered something concrete: another useful piece of clothing ready to wear.